Plan a Subway Day
How to Plan a Half-Day Around One Subway Station
A few spare hours can turn into a good outing without a packed itinerary. Start with one place you want to visit, then fit the walk, budget and journey home around it.
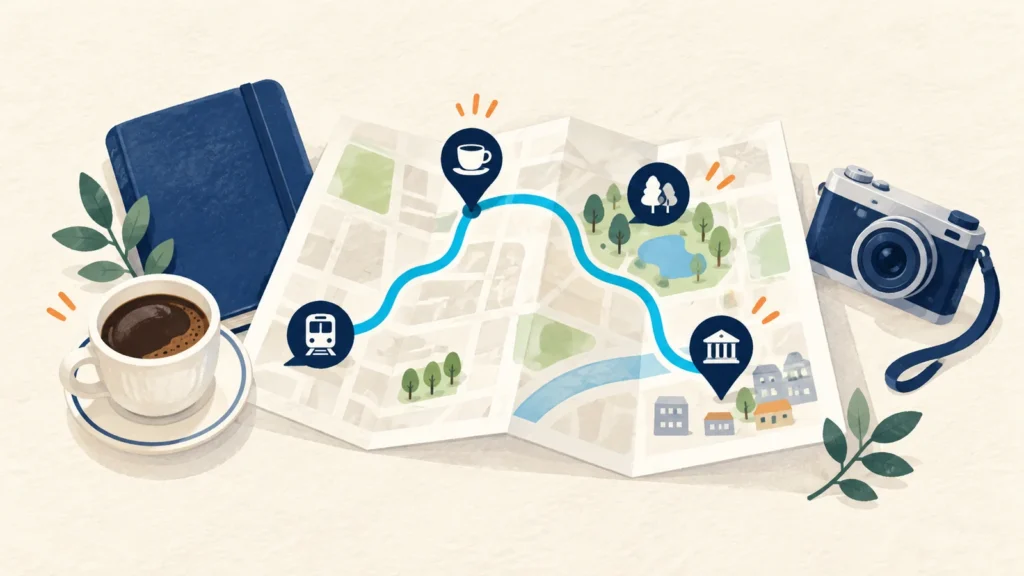
Pick one place you would be happy to visit on its own, check its opening details, and add one nearby optional stop. Plan the walking route and your journey home before adding more places. A half-day outing should fit the time and energy you actually have.
1. Choose an anchor before choosing a station
A long list of saved cafés does not tell you where to start. Choose one reason to go: a market to browse, an exhibition, a particular lunch, or a walk you have been meaning to take. Ask yourself whether that stop alone would make the trip worthwhile.
Then look up the station that serves it. This keeps the plan centred on something you want to do, rather than a station name followed by a search for enough activities to fill the afternoon. You can use the same approach for a morning off or a few hours between other plans.
Check the venue’s current opening hours, closed days, admission or booking requirements, and any last-entry time. For food, check last orders and break times too. An old saved post is an idea to investigate; the venue’s current notice is what your plan needs.
2. Separate outing time from the journeys at each end
Start with when you need to be home, then allow for getting back from the neighbourhood. Do the same for the outward journey. The time left is your local outing time, not the full window you have available.
Within that window, allow time to arrive, find the entrance, do the main activity, and leave without rushing. Keep some flexibility for a queue or a slower walk. If your main stop has a fixed admission or reservation time, arrange the rest around it.
Our visit guides show the time between starting an outing and setting off for home. Your journey from home may be different, so add it separately when adapting a guide. Arrival times describe that visit’s sequence; subtracting them does not tell you how long the walk took.
3. Check the walking route between actual entrances
Two pins close together can still make an awkward pair. Look at the walking route from the station exit to your anchor, then from the anchor to any second stop. Use the venue’s entrance or confirmed address rather than an approximate neighbourhood pin.
In NAVER Map, choose walking directions and enter your start and destination. Its official help describes recommended, main-road-first, and stairs-avoidance route options. Check which fits your day. A stairs-avoidance result is not a promise that the whole trip is step-free; confirm the access you need at the station and venue.
Maps can differ from conditions on the ground when roads or crossings change. Follow current signs and usable crossings. If the route is more tiring or roundabout than expected, choose a closer second stop instead of forcing the original list.
4. Add one change of pace, plus one backup
A place to sit can work well after a walk; a short browse can work after lunch. Make the second stop optional, so spending longer at your anchor does not put the whole plan behind schedule.
Save one backup for a likely problem, such as rain or the first venue being unavailable. Check that it can actually work that day and does not require a complicated new journey. You do not need a second complete itinerary.
Pick a route and try it yourself. Follow my Hyehwa route for coffee and city-wall views, or my Beomgye solo route for a park walk, lunch and a movie.
Save the guide’s numbered map to your phone and follow the stops in order next time you have a few hours free. Check current opening hours before you go, and skip a stop whenever you’d rather slow down.
5. Set a spending limit and a finishing point
Include transport, food, drinks, admission, and any shopping allowance in your own budget. If a guide lists food and drink spending only, do not treat that figure as an all-inclusive price. A simple note with the categories is enough to spot the extra costs.
Before leaving, save your first stop, optional stop, and return station. After the main activity, decide whether you want to continue. Heading home after one enjoyable stop still completes the plan; the other places can wait.
For an evening outing, check the return journey before you settle into the final stop. If you will change lines, our subway transfer guide explains what to look for between trains.
Sources: NAVER Map walking-directions help (Korean). Venue opening details must be checked with each venue for your chosen day.
Ready to use it?